

- Demo and source code
- Introduction
- Generating the directive
- Adding functionality
- Usage example
- Further reading
- Special thanks
Demo and source code
Here’s a link to the demo, and source code on Github.
Introduction
Imagine in your app there’s a search input that triggers an http request on each keystroke as a user types in their query. As your userbase grows, search operations quickly become expensive due to the increased traffic to your server.
To mitigate this, a directive can be created to enable us to emit a value from the search input only after a particular time span has passed without another keystroke from the user. It will delay new keystrokes but drop previous pending delayed keystrokes if a new one arrives from the search input. Let’s dig in!
Generating the directive
We start by creating a new Angular project with the command:
ng new delayed-input-demo
Then create a module we’ll register the directive in:
ng g module delayed-input
After which we create and register the directive inside the above module with the command:
ng generate directive delayed-input/delayed-input --export=true
We’ve used the --export=true CLI option so the directive is automatically added to the exports array of DelayedInputModule, which should now look like this:
import { NgModule } from '@angular/core';
import { CommonModule } from '@angular/common';
import { DelayedInputDirective } from './delayed-input.directive';


@NgModule({
  declarations: [DelayedInputDirective],
  imports: [
    CommonModule
  ],
  exports: [DelayedInputDirective]
})
export class DelayedInputModule { }
Adding functionality
Now let’s flesh out the directive, delayed-input.directive.ts, as below. Notice I’ve added numbered comments to important code lines which we’ll be reviewing.
import {Directive, ElementRef, EventEmitter, Input,
        OnDestroy, OnInit, Output} from '@angular/core';
import {fromEvent, Subject, timer} from 'rxjs';
import {debounce, distinctUntilChanged, takeUntil} from 'rxjs/operators';

@Directive({
  selector: '[appDelayedInput]'
})
export class DelayedInputDirective implements OnInit, OnDestroy {

  private destroy$ = new Subject<void>(); // 0️⃣

  @Input() delayTime = 500; // 1️⃣
  @Output() delayedInput = new EventEmitter<Event>();  // 2️⃣

  constructor(private elementRef: ElementRef<HTMLInputElement>) { // 3️⃣
  }

  ngOnInit() {
    fromEvent(this.elementRef.nativeElement, 'input') // 4️⃣
      .pipe(
        debounce(() => timer(this.delayTime)),  // 5️⃣
        distinctUntilChanged(
          null,
          (event: Event) => (event.target as HTMLInputElement).value
        ), // 6️⃣
        takeUntil(this.destroy$), // 7️⃣
      )
      .subscribe(e => this.delayedInput.emit(e)); // 8️⃣
  }

  ngOnDestroy() {
    this.destroy$.next(); // 9️⃣
  }

}
-
0️⃣: We declare and initialize
destroy$as an RxJSSubject. Used with thetakeUntiloperator, it will help us unsubscribe from RxJS subscriptions when the directive is destroyed. -
1️⃣: We declare
delayTimeand set it’s value to500milliseconds. It represents the timeout duration in milliseconds for the window of time required to wait for emission silence before emitting the most recent source (userInput$) value. We’ll use this together with RxJS’sdebounceandtimeroperators to only emit a value fromuserInput$after 500 ms has passed without another emission from the subject. Notice we’ve decorateddelayTimewith@Input()so that a different value can be passed in when applying the directive. -
2️⃣: We declare
delayedInput, decorate it with@Output(), and make it anEventEmitter. We’ll use it push out a stream of delayed user inputs. -
3️⃣: We get a reference to the host
HTMLInputElementvia constructor injection. -
4️⃣: Using the
fromEventRxJS operator, we listen forinputevents on the directive’s host element (anHTMLInputElement). We access to the host element -this.elementRef.nativeElement- through the element reference injected in the constructor. -
5️⃣: We apply a combination of the
debounceandtimeroperators to enable us to emit a value from the source Observable only after a particular time span has passed without another source emission. It passes only the most recent value from each burst of emissions, and has the effect of only emitting search queries after the user stops typing. If wondering why we didn’t usedebounceTimeinstead, please read this. -
6️⃣: We apply the
distinctUntilChangedoperator which only emits when the current value is different from the last. This way, search queries not different from the last are dropped and not emitted. Note without thekeySelectorfunction passed in as the second argument, thedistinctUntilChangedwill not behave as we might expect it to. It will evaluate on the value reference. TheEvents that are emitted overfromEventwill always be a different reference so it won’t do anything. Thus, we pass in akeySelectorfunction that takes in the current value and returns akeyfor use in comparing the current value to the previous value. In our case, we’ll be returning the text in the input box,event.target.value. Of course a compare function can be passed in instead as the first argument, which I tried but was not able to get it working as expected. If you’re able to, please do let me know you did it. -
7️⃣: We make use of the
takeUntiloperator which emits values emitted the source Observable until anotifierObservable (destroy$) emits a value. -
8️⃣: We call
this.delayedInput.emit(e)to emit the delayed event. -
9️⃣: Last but not the least, we call
next()on thedestroy$Subject inngOnDestroyto automatically unsubscribe thefromEventsubscription when the directive is destroyed.
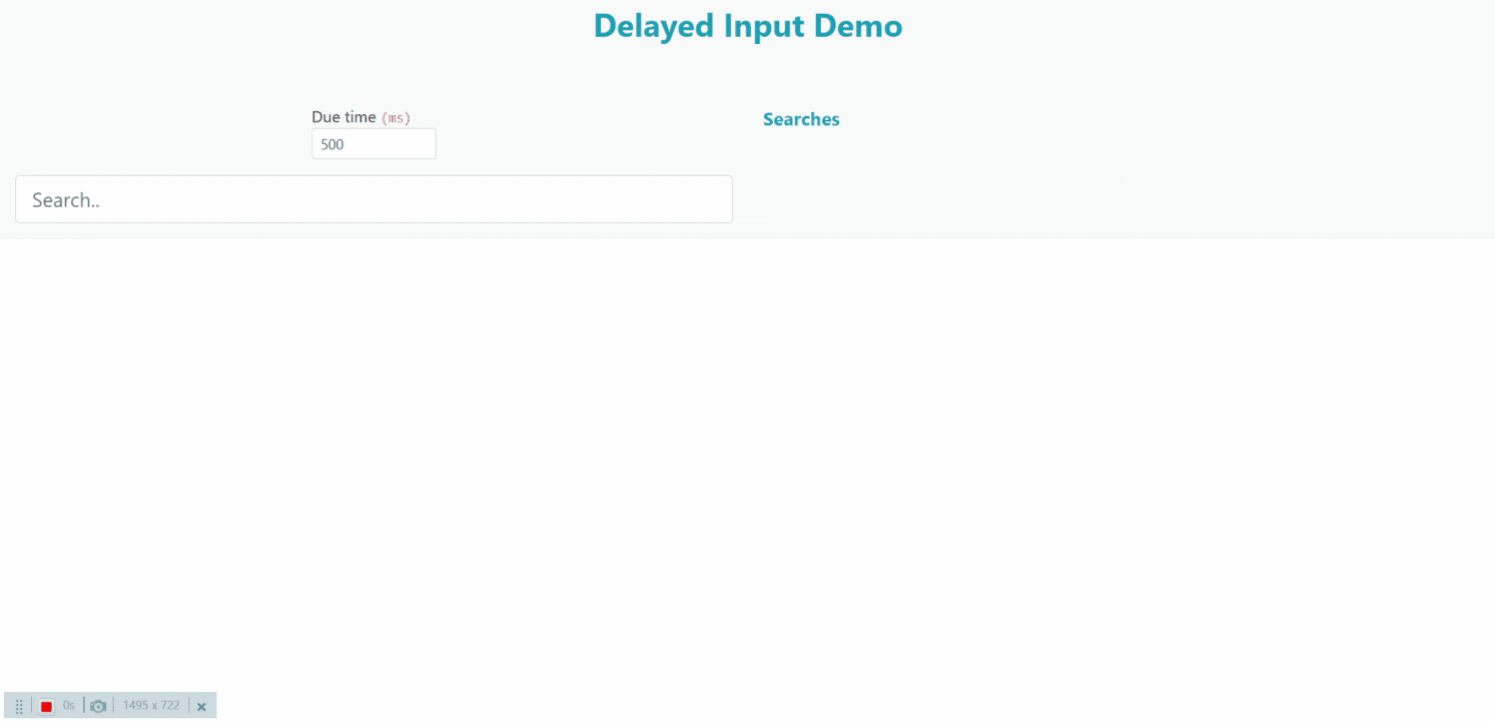
Usage example
To use the directive, we have to import DelayedInputModule in AppModule.
@NgModule({
  // ...

  imports: [
    // ...

    DelayedInputModule,
  ],

  // ...
})
export class AppModule { }
Then update AppComponent to add a usage example. We start with app.component.html replacing it’s content as below.
<input type="text"
       placeholder="Search.."
       appDelayedInput
       (delayedInput)="search($event)"
       [delayTime]="600">
Followed by app.component.ts as below.
@Component({
  selector: 'app-root',
  templateUrl: './app.component.html',
  styleUrls: ['./app.component.scss']
})
export class AppComponent {

  search($event: Event) {
	// Do something with the input value, maybe make an http request?

    /**
    * You need to explicitly tell TypeScript the type of the HTMLElement which is your target.
    * @see https://stackoverflow.com/a/42066698/6924437
    */
    console.log( ($event.target as HTMLInputElement).value );

  }

}
Further reading
Special thanks to
for reviewing this post and providing valuable and much-appreciated feedback!